How to Build a Stable Cat Scratching Post for Indoor Cats
Author:Allison
Released:February 5, 2026
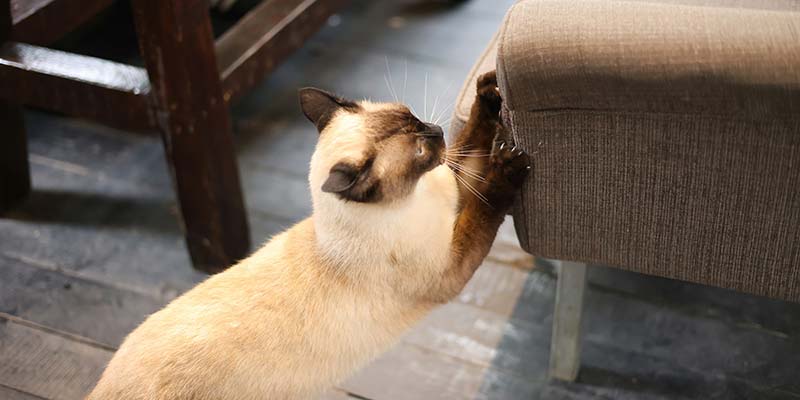
Your cat is scratching the sofa again, and the cheap post in the corner keeps wobbling every time it gets used. That usually means the post is too light, too short, or wrapped in a material your cat does not like. A good DIY cat scratching post fixes all three problems at once: it feels sturdy, gives a full stretch, and is easy to place where your cat already spends time.
Why Cats Scratch
Scratching is not a bad habit. It is how cats stretch their backs, sharpen claws, and mark territory. Indoor cats need a proper outlet more than outdoor cats do, because they do not have trees, fence posts, or rough bark nearby.
If the scratcher feels unstable, most cats ignore it. If it sits in the wrong spot, they go back to the couch. So the goal is simple: build something solid enough that your cat trusts it, and appealing enough that your cat chooses it on purpose.
Pick the Right Shape
A vertical post works best for cats that like to stretch upward. A horizontal scratcher is better for cats that scratch rugs or prefer to crouch. An angled design sits somewhere in between and often works well for kittens or older cats.
Think about your cat before you buy materials. A large, strong cat needs a heavier base and a thicker post. A shy cat may prefer a scratcher near a window, bed, or hallway corner, where it already feels comfortable.
Materials That Actually Work
For the main post, use a sturdy wooden pole, hardwood branch, or thick timber piece. Oak, maple, and redwood are solid choices if you can get them cleanly cut and sanded. For the base, plywood works well, but it should be wide and heavy enough to resist tipping.
For the scratching surface, sisal rope is the most common choice because it holds up well and gives a rough texture cats like. Carpet can work too, but some cats pull at loops or lose interest faster. If you want a simple build, a rubber-backed platform and a wrapped post are enough.
You will also need screws, a drill, sandpaper, a saw, and a way to secure the post tightly to the base. Safety gear matters too. Gloves, eye protection, and ear protection are not optional if you are cutting or drilling by hand.
Size and Stability Matter
The post should be tall enough for your cat to fully stretch. If your cat can only scratch halfway up, the post is probably too short. A good rule is to match the post height to your cat’s full stretch, not just its body length.
The base should be wide and heavy. A light base makes the whole structure tip when the cat pulls sideways. Before you put it out for use, do a shake test. If it rocks, shifts, or slides, it needs more weight or a wider footprint.
Build It Step by Step
1. Start by cutting the post to the right height.
Then sand every edge until it feels smooth in your hand. You can begin with medium-grit sandpaper (like 120 grit) and finish with a finer grit (around 220) for a cleaner touch.
Sharp corners and splinters are bad for both cats and people, so do not rush this part. Pay extra attention to the top edge, since cats often rub against it.
2. Mark the center of the base carefully.
Use a ruler or measuring tape to find the exact middle, and lightly mark it with a pencil. Drill pilot holes before you drive in screws, because that keeps the wood from splitting. Choose screws that are long enough to anchor the post securely.
Then attach the post firmly from the bottom or through the base, depending on your build. The connection should feel tight, not just “good enough.” If it wobbles even slightly, reinforce it before moving on.
3. If you want a wrapped post, start at the bottom and wind the sisal rope tightly upward.
Apply a small amount of wood glue at the starting point to keep the rope from slipping. Keep each turn close to the last one so the wood does not show through. Pull the rope tight as you go, and pause every few wraps to press it firmly into place. Fasten the ends securely with staples or strong glue so the rope cannot loosen when your cat digs in.
4. Finish the base with carpet, felt, or a non-slip surface.
Cut the material slightly larger than the base, then trim after attaching for a cleaner edge. You can use adhesive, staples, or both for a more secure hold. Add anti-slip pads under the bottom if your floor is smooth. That small step can make the difference between a scratcher your cat uses and one that slides across the room.

Sisal, Carpet, or Bare Wood?
Sisal rope is the safest default. It is rough, durable, and familiar to most cats. It also hides wear better than fabric, which helps if you want the post to last longer.
Carpet gives a softer feel and can look better in some rooms. Bare wood is the cleanest-looking option, but many cats will not scratch it unless the surface has some grip. If you want a post that blends into the room, choose the finish after you decide how your cat likes to scratch, not before.
Help Your Cat Use It
Put the post where your cat already scratches or rests. Do not hide it in a corner no one uses. Cats are lazy about new objects; if the post is far from their routine path, they will ignore it.
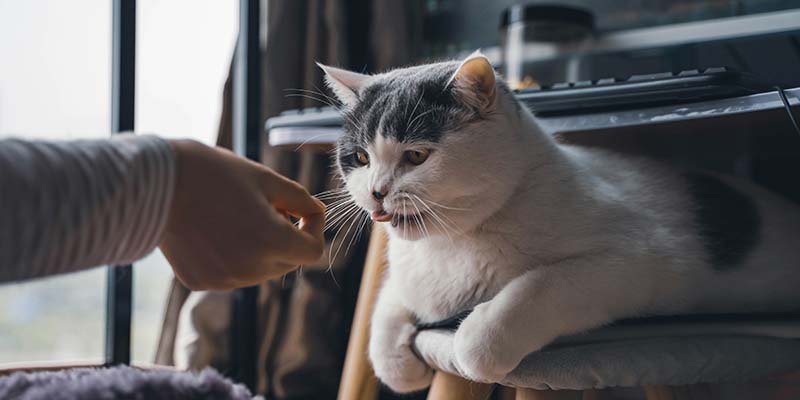
Use a treat, catnip, or a favorite toy to get the first contact. If your cat scratches it once, reward that moment right away. If the sofa is still the target, move the post closer to the problem area instead of hoping the cat will “get it” on its own.
The first few days matter most. A little repetition goes further than a big one-time effort. If your cat is unsure, keep the post in place and keep the rewards easy.
Keep It in Good Shape
Check the rope, screws, and base often. If the wrapping is loose or shredded, replace it before it becomes a hazard. A damaged post is worse than no post, because the cat may decide it is not worth touching again.
Clean off dust, fur, and odor from time to time. If you used carpet or fabric, watch for snags. Different materials wear at different speeds, so a busy household may need repairs sooner than a quiet one.
A Few Smart Decisions
If your cat is large, choose a thicker post and a heavier base. If your cat is cautious, place the scratcher next to a favorite resting spot. If your room is small, a vertical design saves floor space better than a wide horizontal one.
If you want the simplest version, build one strong post and one heavy base. If you want the most durable version, use hardwood, sisal rope, and anti-slip feet. If you want the prettiest version, match the base cover to your floor or furniture, but do not trade stability for looks.
A good DIY cat scratching post does not need to be fancy. It needs to be tall enough, heavy enough, and easy enough for your cat to use every day. Start with the right size, keep the build stable, and place it where your cat already spends time.
Related Posts

So, Does Your Cat Actually Hate You? (Probably Not, Here's Why)

Can Dogs Eat Broccoli Safely? Benefits, Risks, and Feeding Tips
Lickable Cat Treats: Why Tube Snacks Have Become a Cat Household Obsession

Is Your Dog Cold? How To Tell If They Need a Coat

Vaccinations Schedule for Puppies: What Owners Need to Know